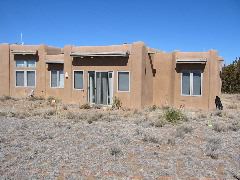
The beginning: a bare site, 10 years in the house and finally we're doing something on this side

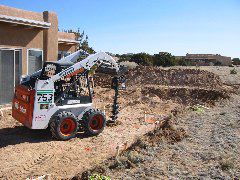
Weekend 1: bobcat work, expensive OJT

Laying out where to drill
Drilling 12" diameter post holes for concrete foundadtion piers

Weekend 2 and 3: Positioning the sono tubes
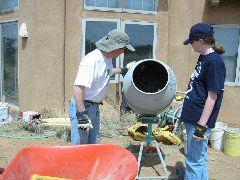
Weekend 4: borrowing Jeremiah's mixer

52, 80 lb bags of quikrete later

Inspecting a hard weekend's work

Weekend 5 and 6: gravel

Weekend 7: wood arrives

Now what are we going to do?
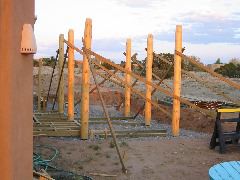
Natalie's friend Leland helps

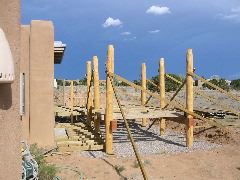
Vigas up and braced, level 1 rim joists in place

Beams delivered -- really HEAVY beams!
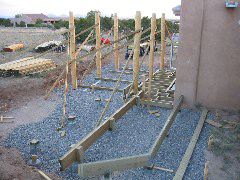
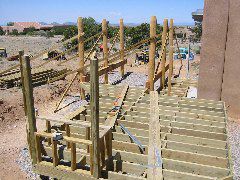
Weekend 8: joists for level 1 and beams for level 2
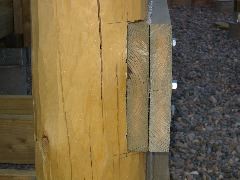
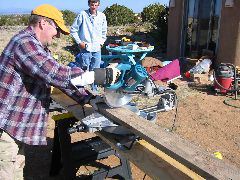
Fancy chainsaw work
Closer look at vigas
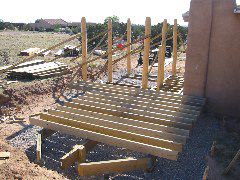
Weekend 9 and 10: finish beams, start joists for level 2

Finish rim joists on level 2

Weekend 11: raise first two HEAVY beams into place. I think we'll need a crane for the ones on top
Start on raised platform for tub access
Joists for level 3 started
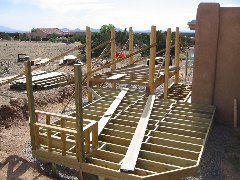
Another view of level 3

Weekend 12: posts and railing caps

Posts and railing caps

Viga supports removed

Weekend 13: deck surface on level 1

Scribe around a viga

Weekend 14: deck surface, level 2, in progress

Level 2 surface complete